Bringing feathers to life:
My method for making
It might look like bird madness, but there is method in it
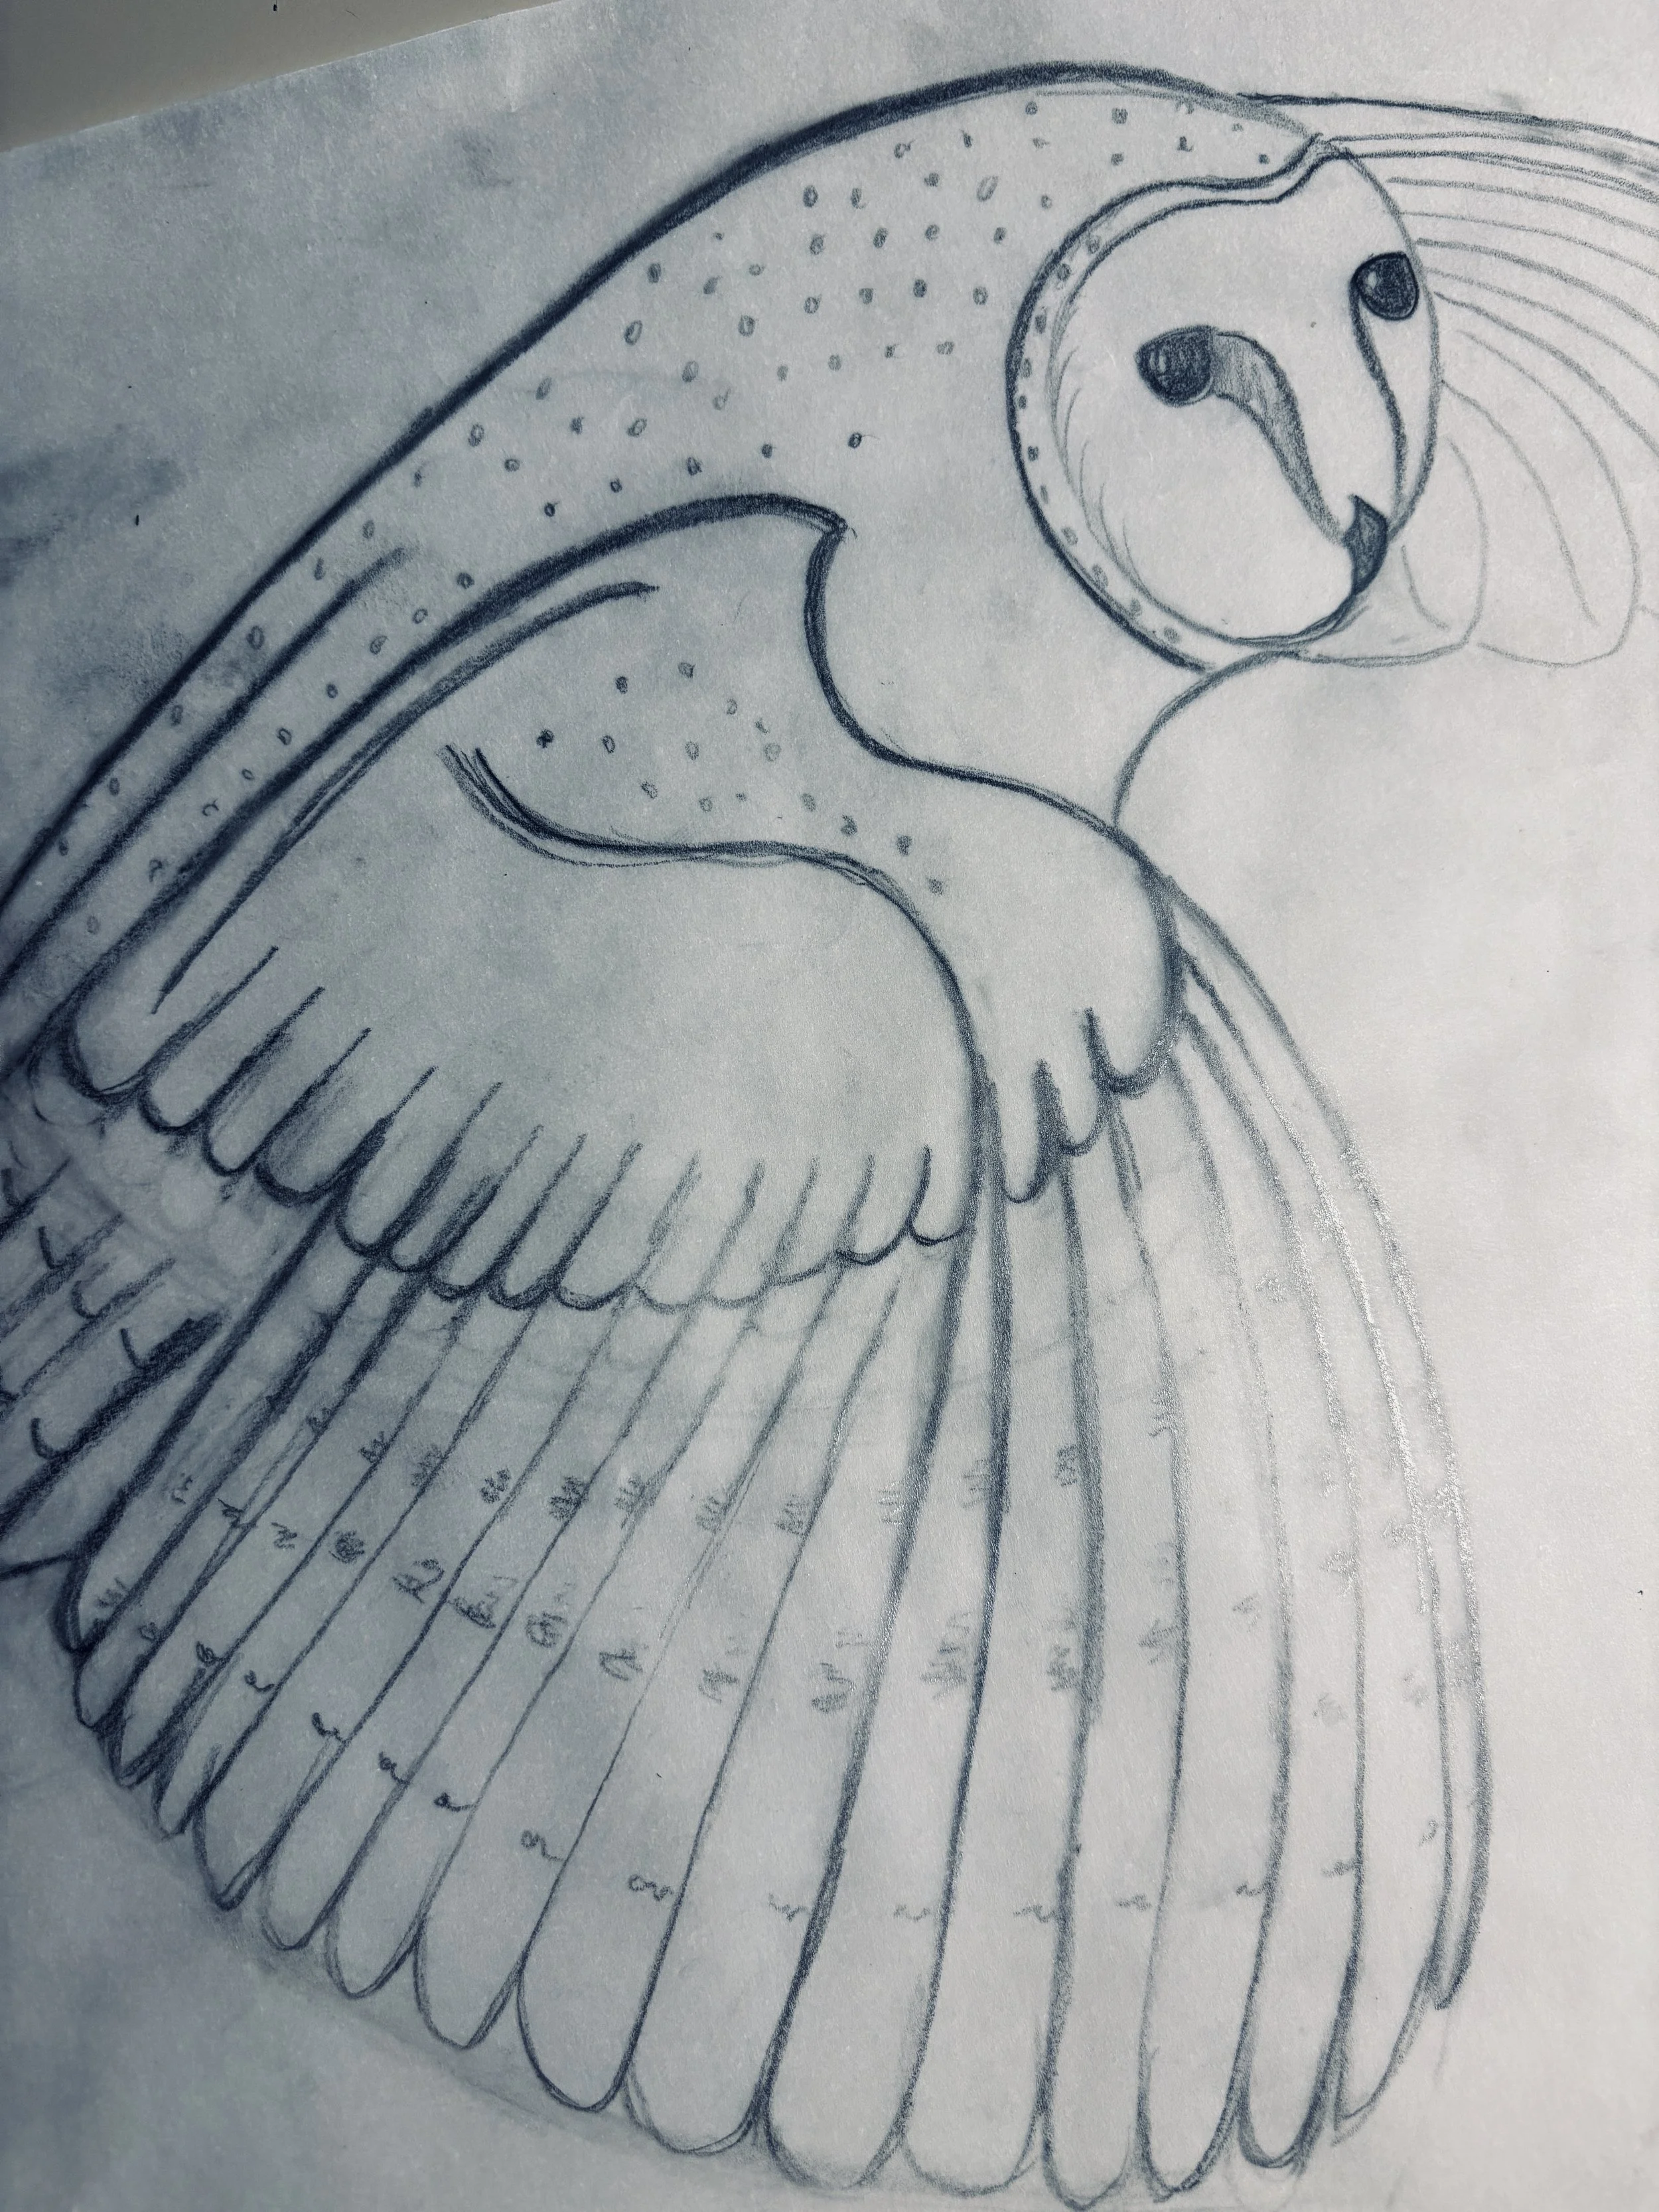
Stage One:
Everything starts with a pencil
The most important tool of all is a 2B pencil. where all my ideas start. I like working on tracing paper as I can keep drawing and re-drawing until I am happy with the design. There is always a lot of rubbing out! When I can stop myself fiddling, I use a spoon to rub the back on the image to transfer it onto lino or vinyl
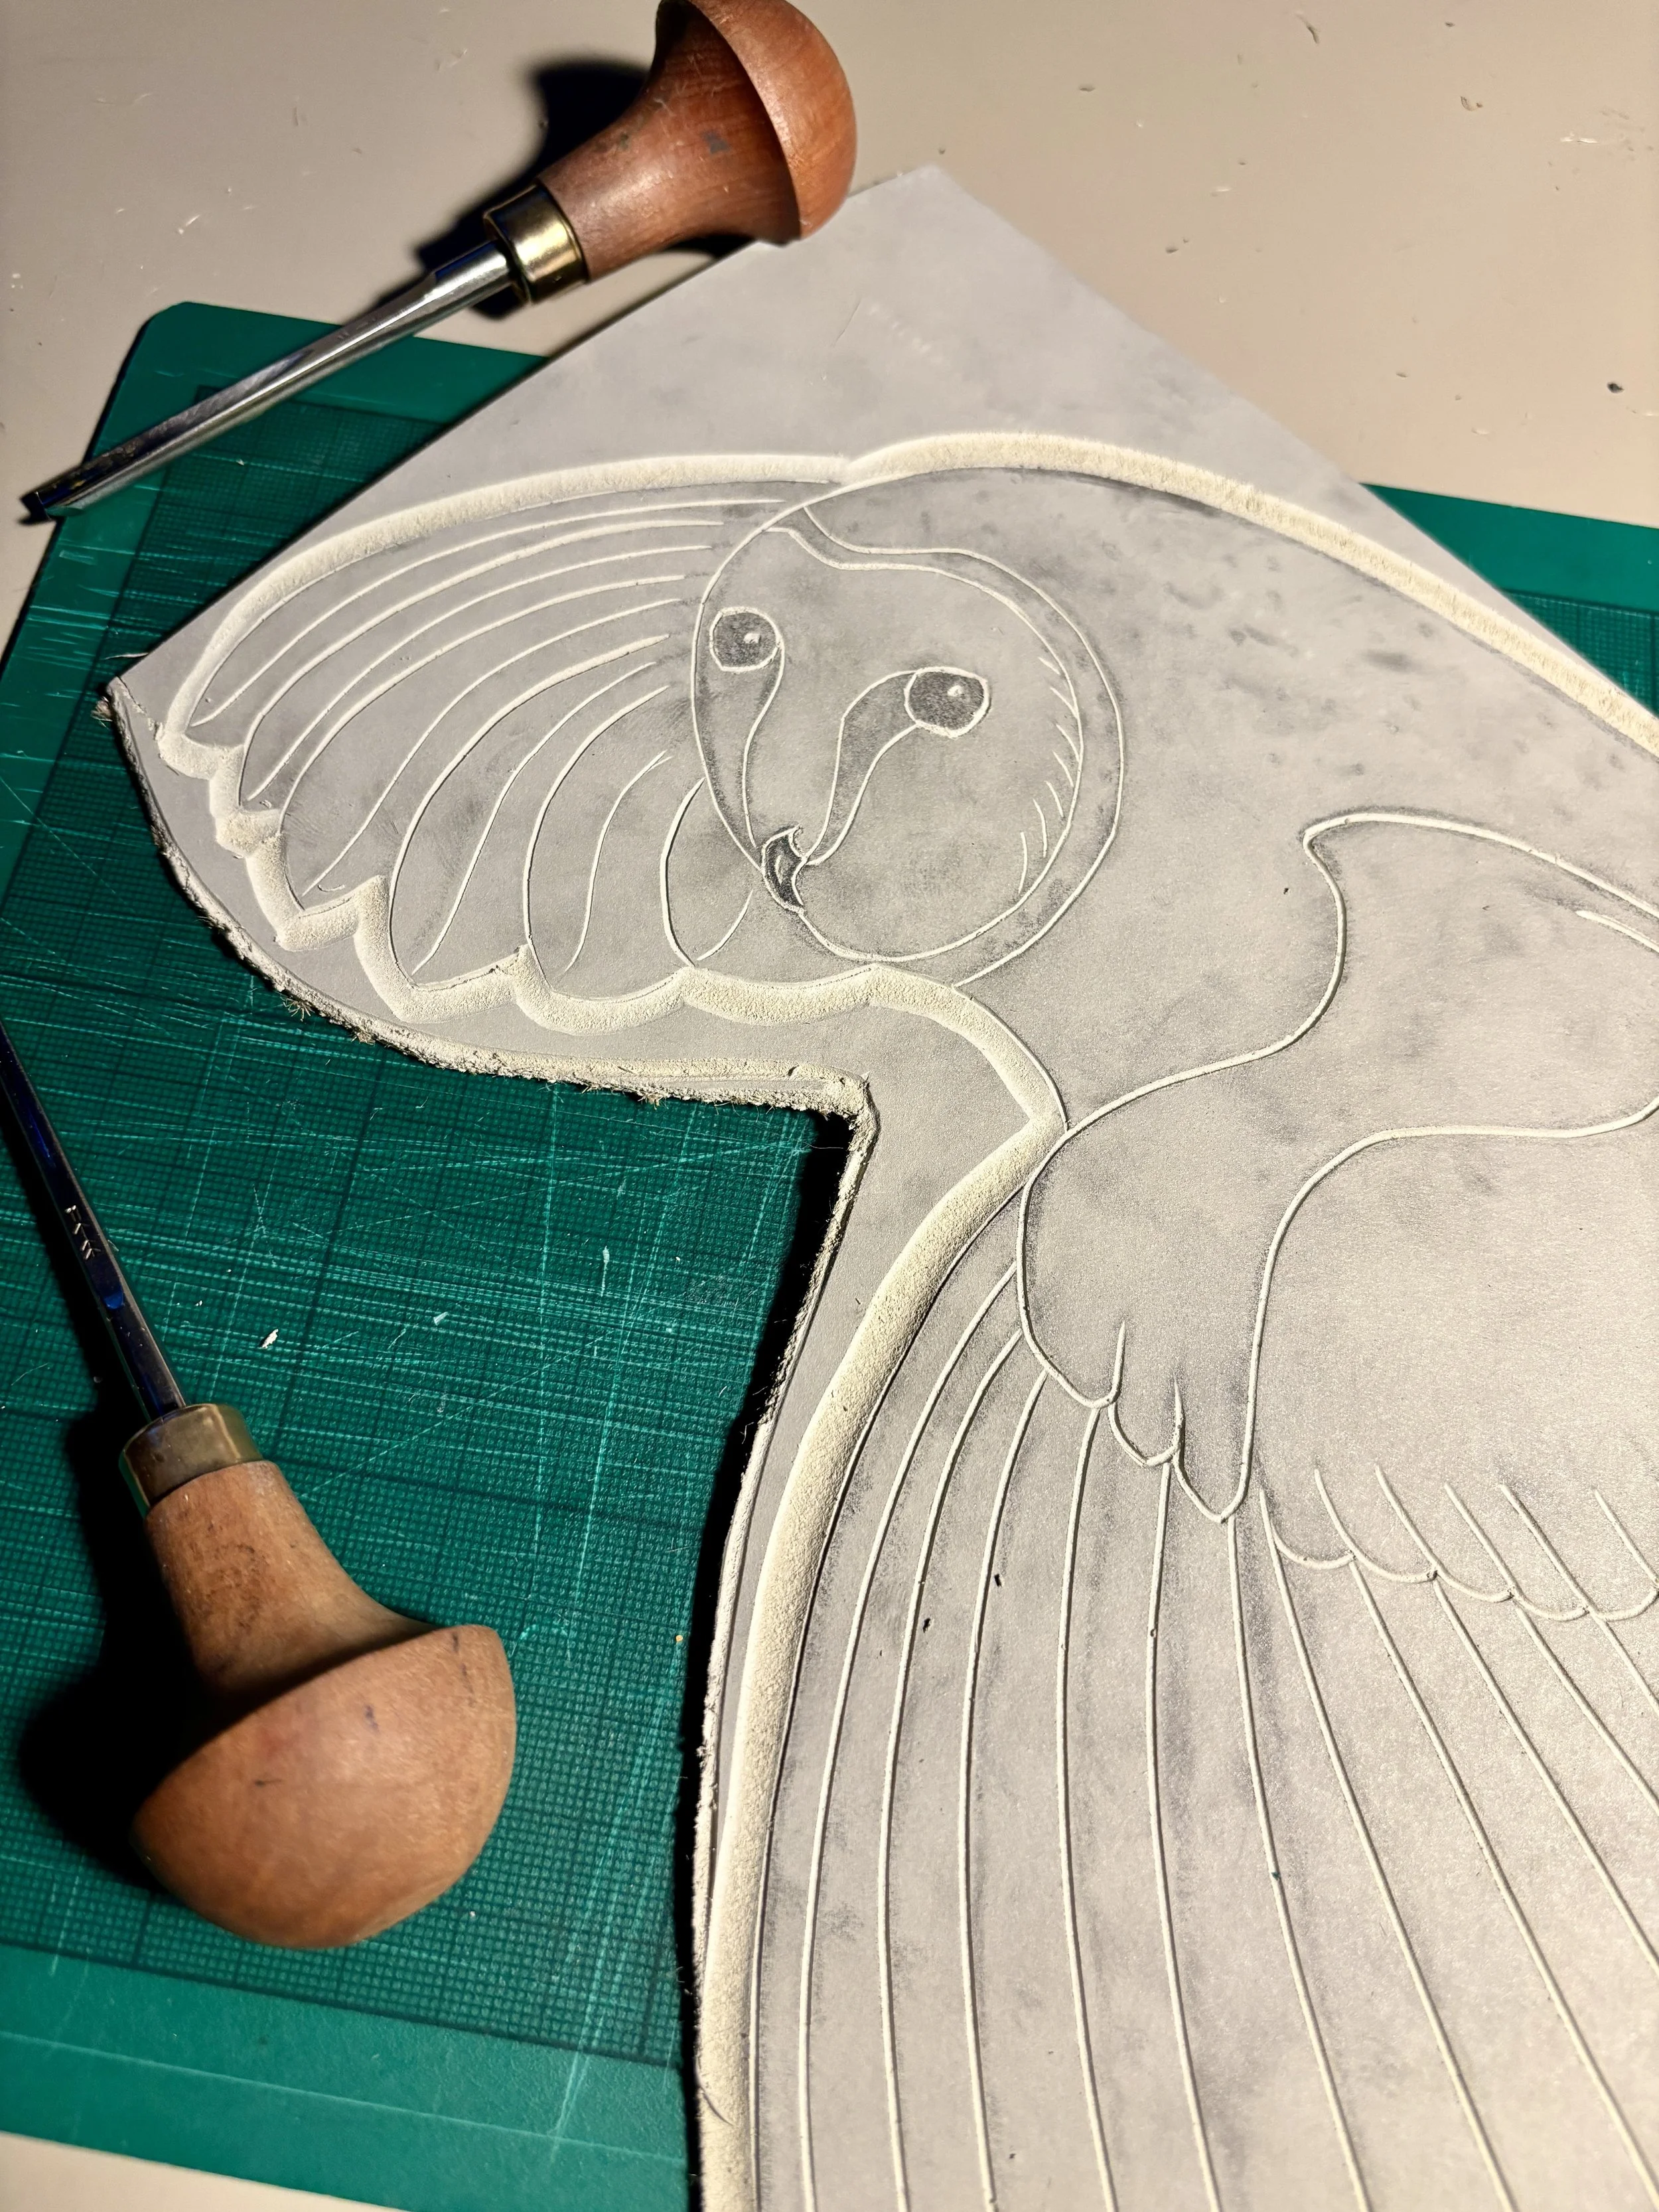
Stage Two:
The cutting begins
The dangerous part for someone as clumsy as me - as I set about cutting out the design without also gouging a chunk out my fingers! This is where the outline, shapes and some details are added. The finished result is your printing plate.
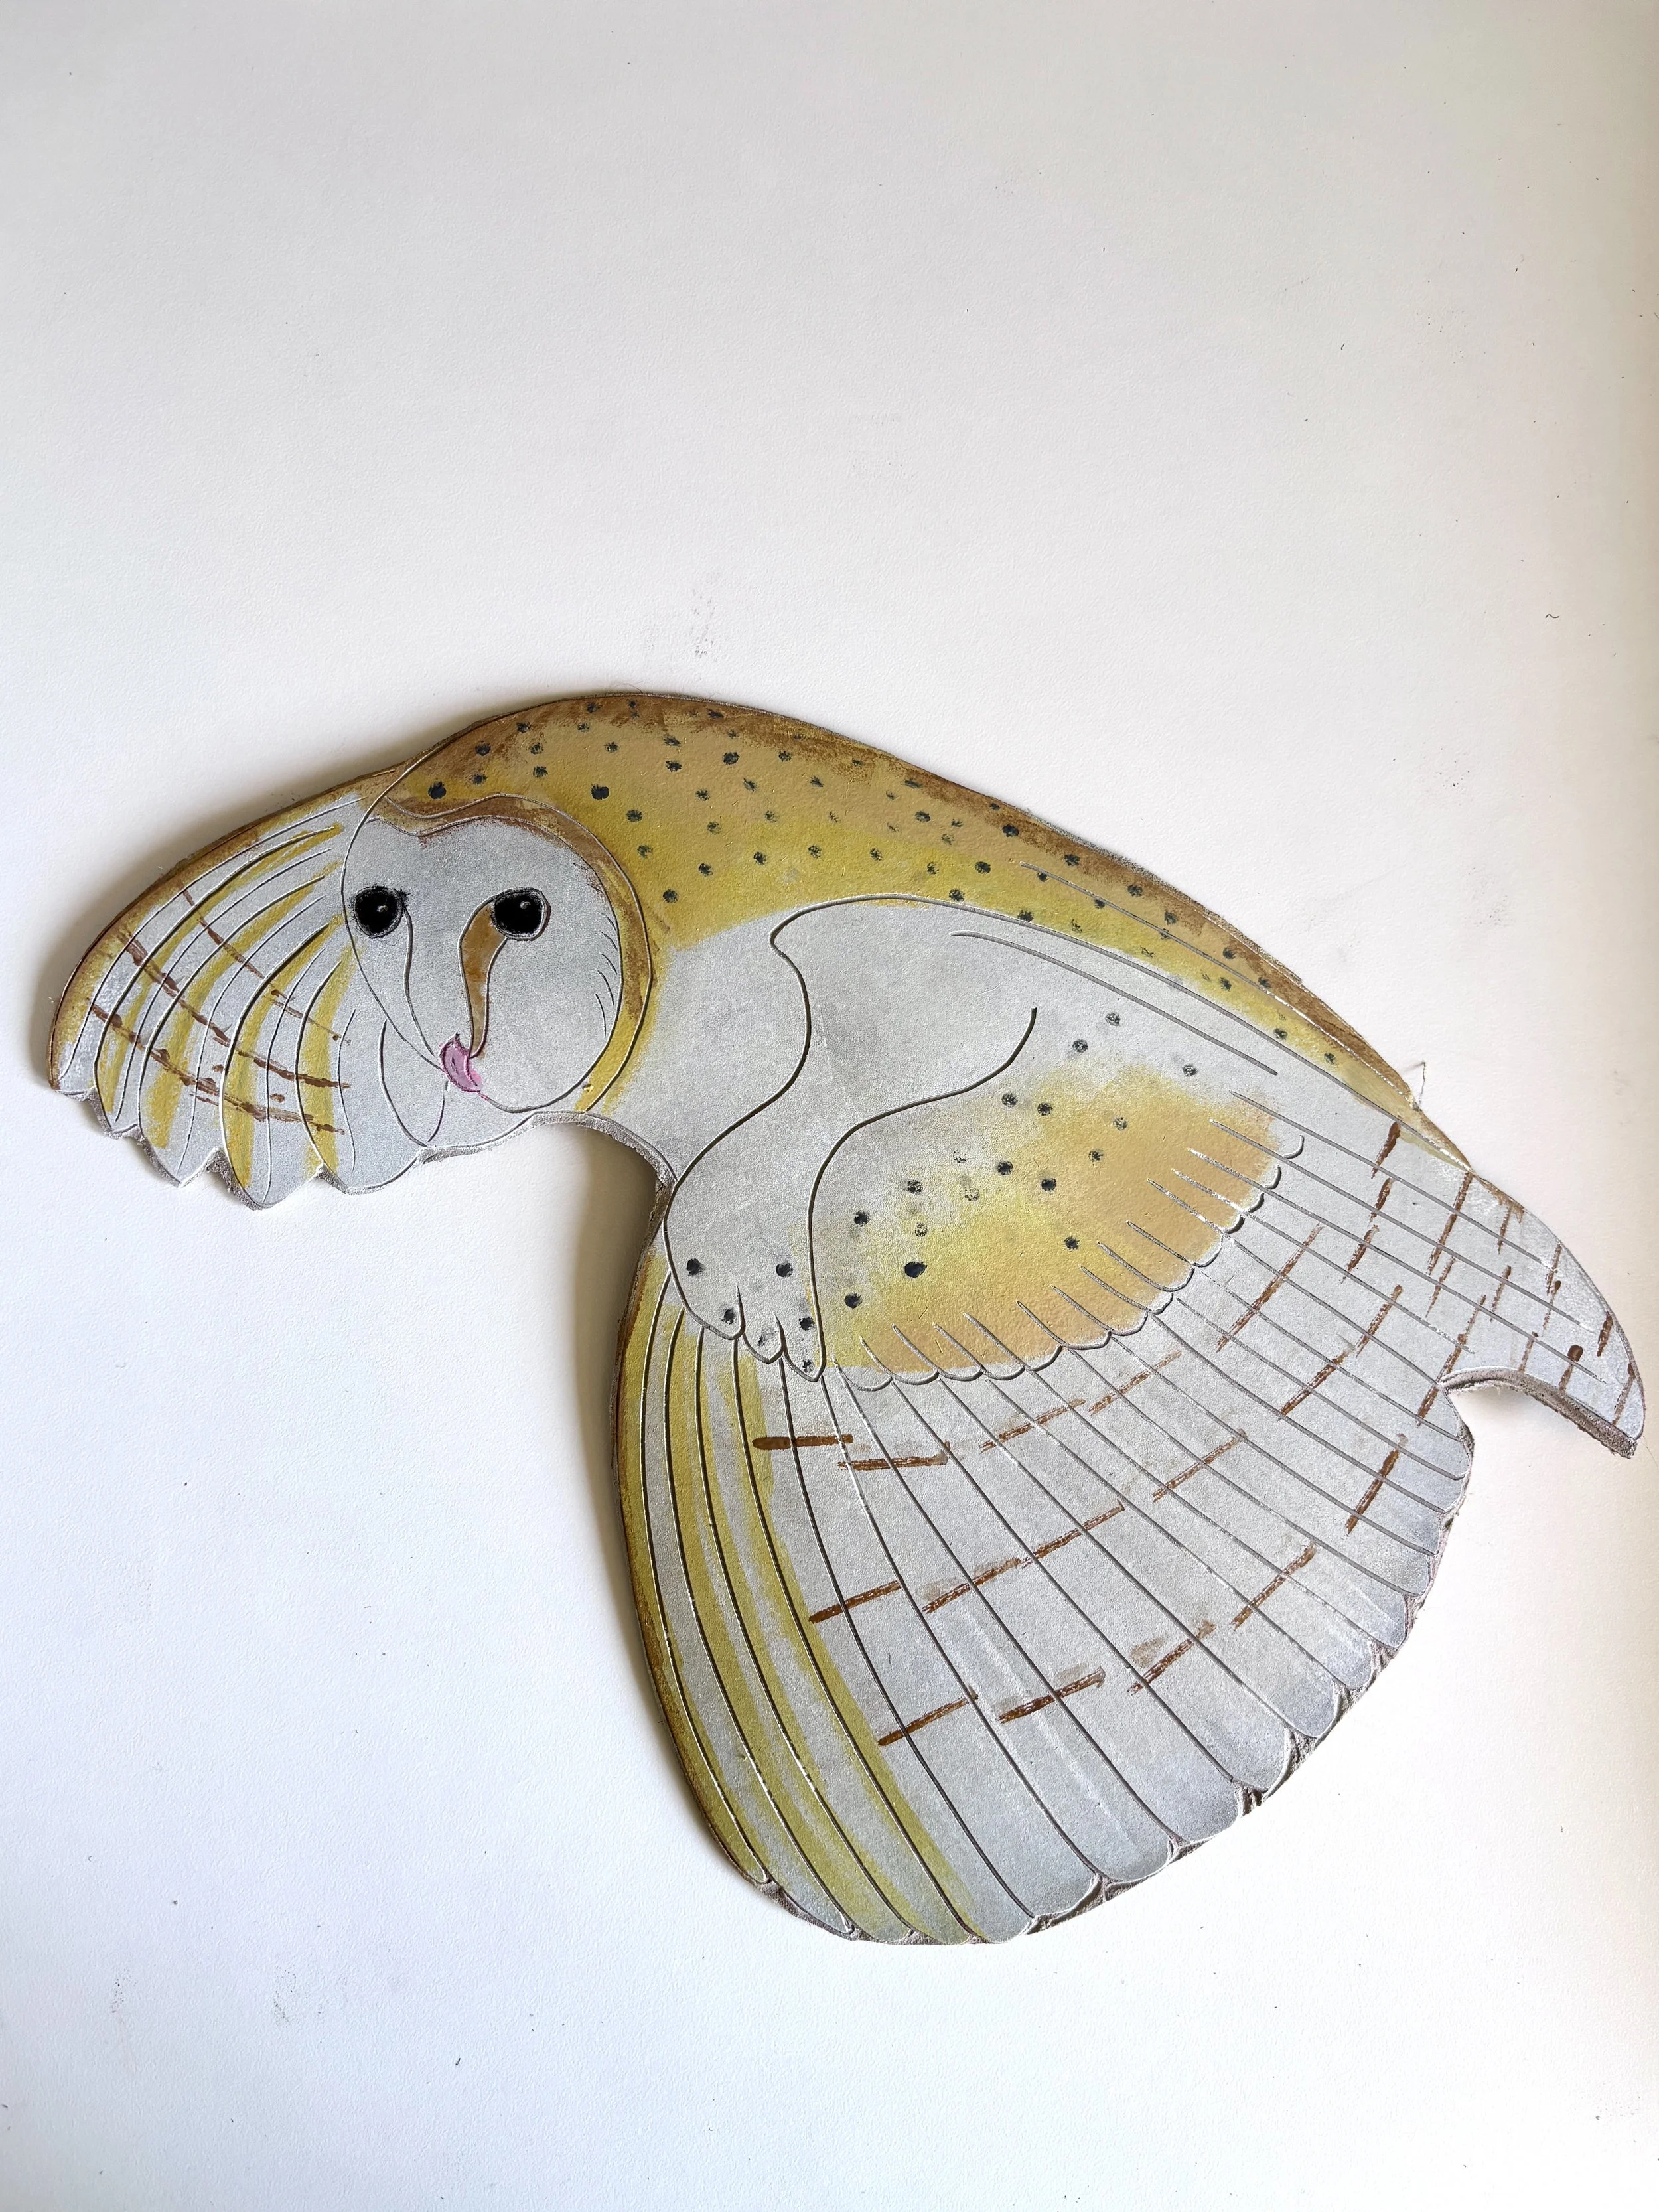
Stage Three:
The Inking
This is where your fingers get messy. The printing plate is inked up. I do all my colours at once, so there is a lot of inking, then wiping, then re-inking, to get an image I am happy with. Each print is unique as I add some of the detail and shading by eye. All the time working against the clock before the colours dry.
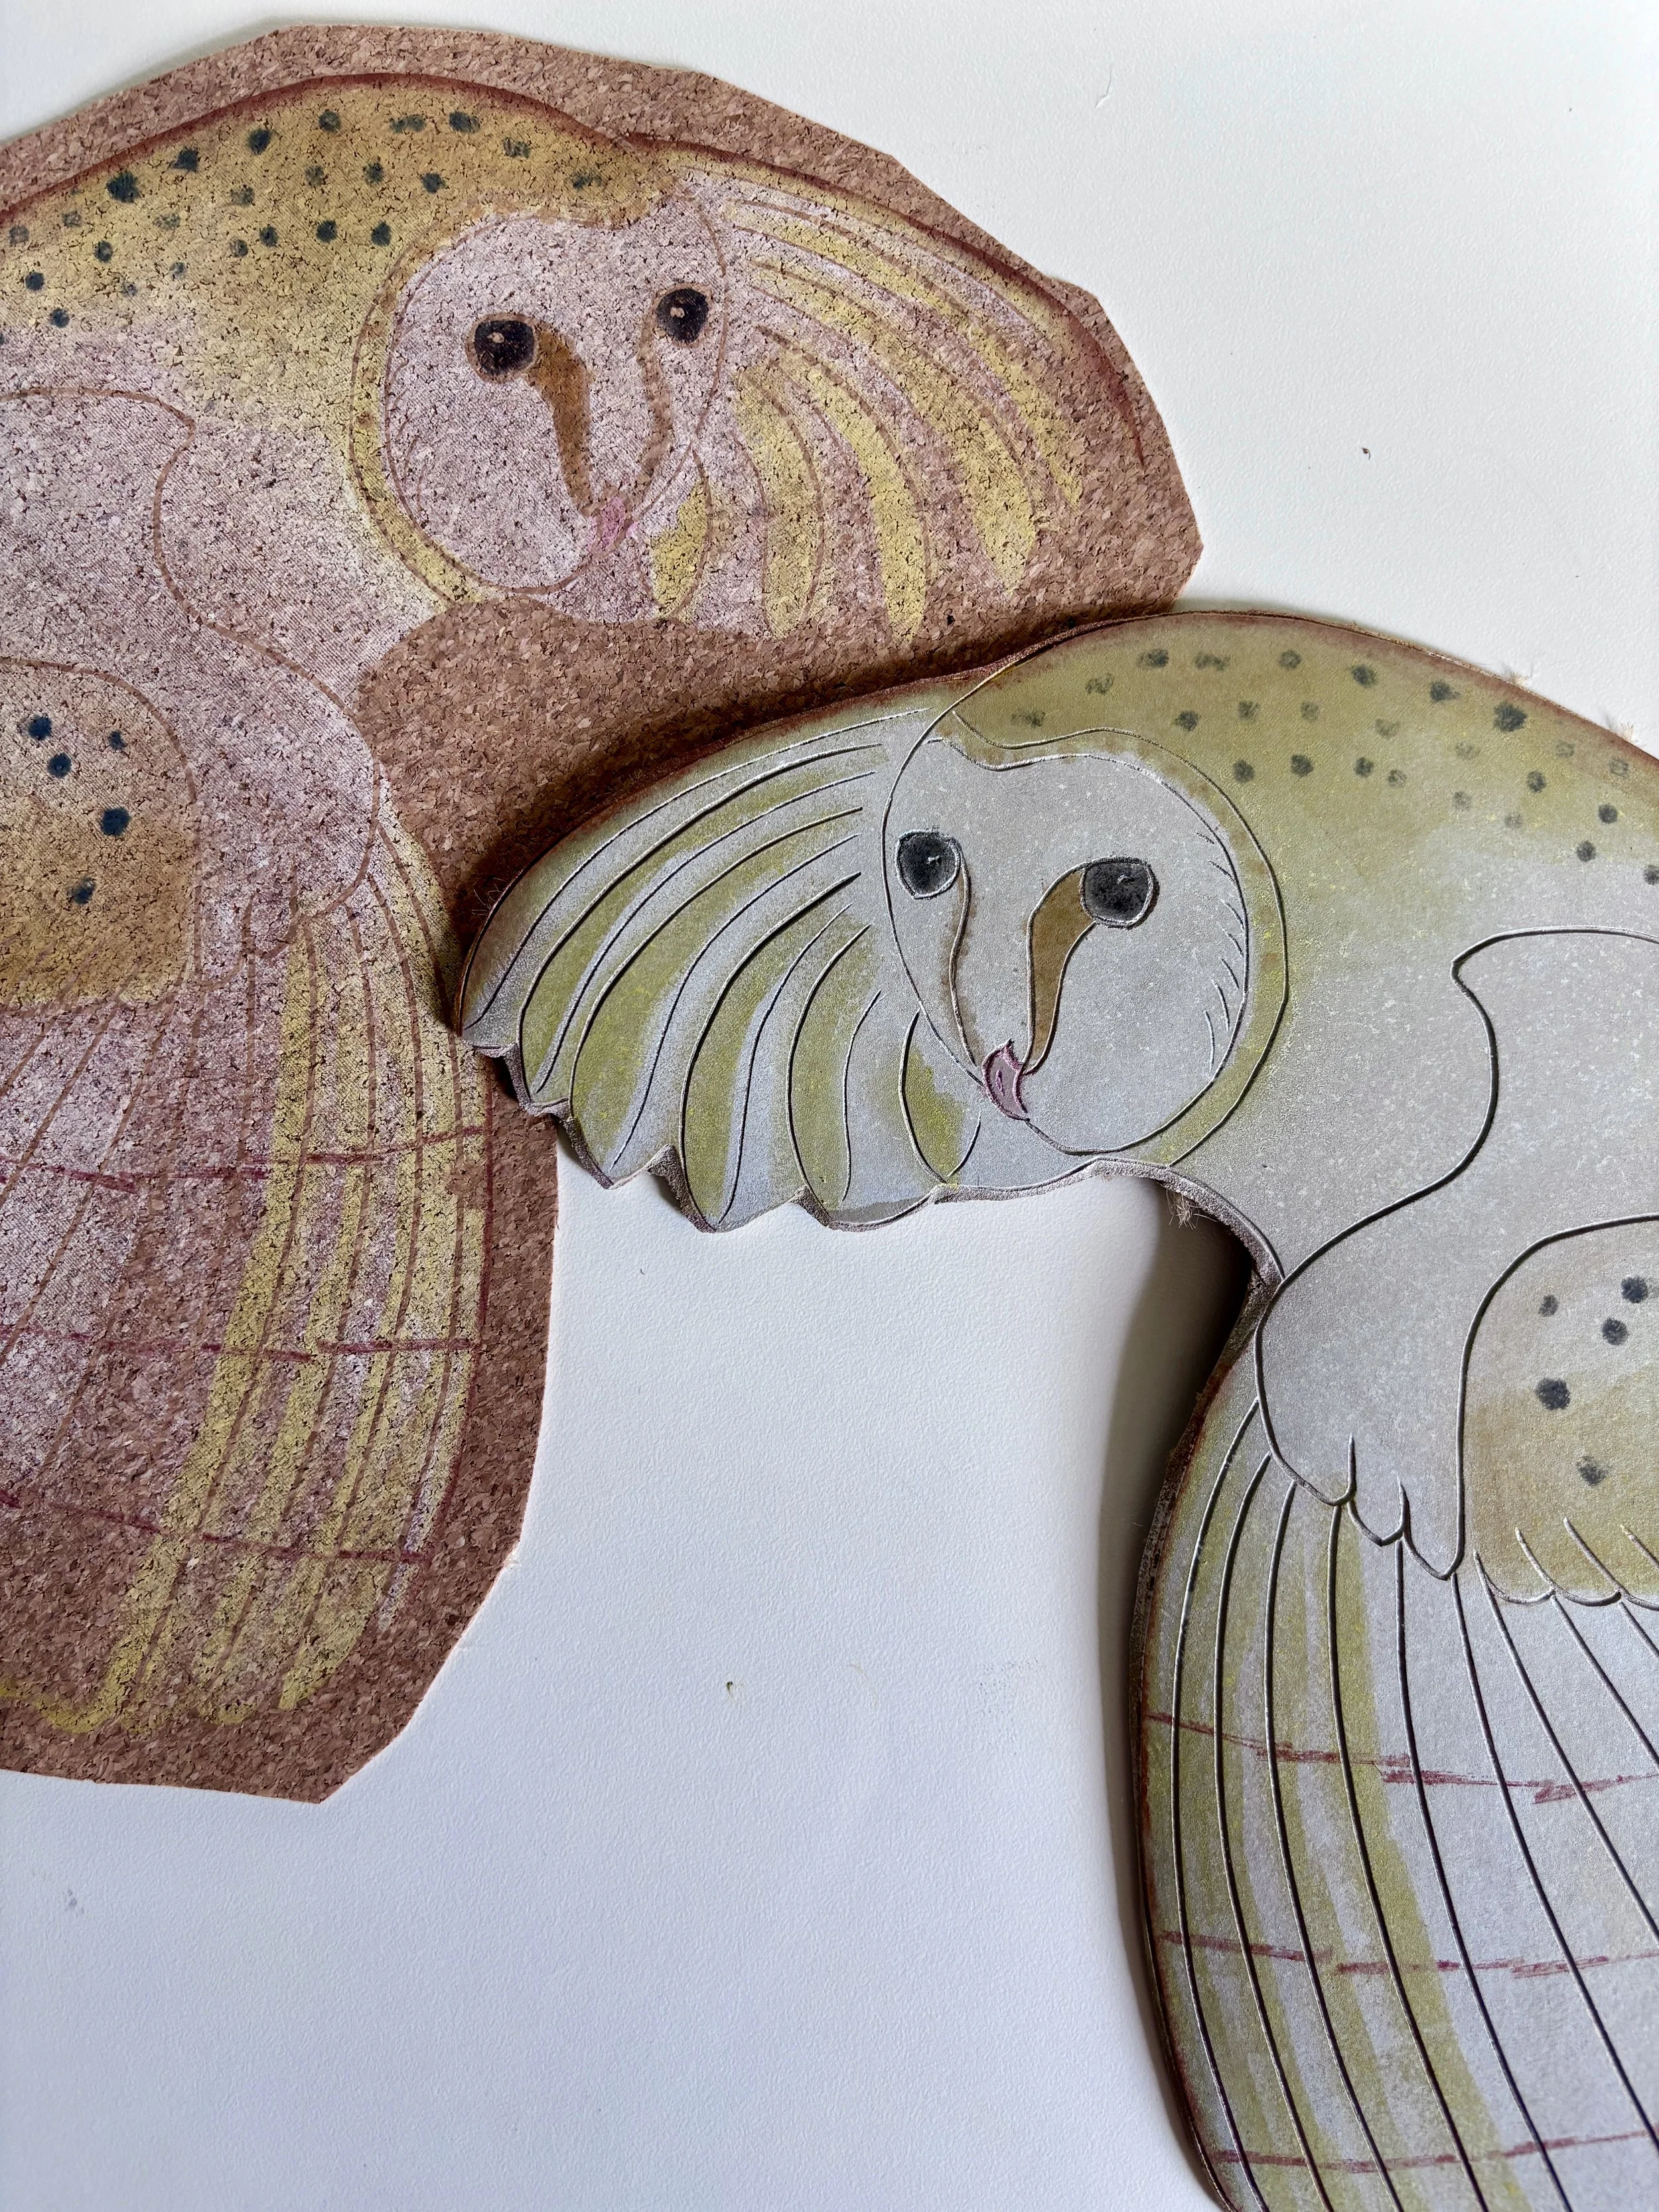
Stage Four:
The Printing
The inked plate is placed onto a piece of cork and pressure is applied using a printing press. Sometimes, to be extra sure it has registered clearly, I go old fashioned and stand on the back of the printing plate- a bit like pressing grapes the old skool way - but less gross.
Stage Five:
The Embroidery
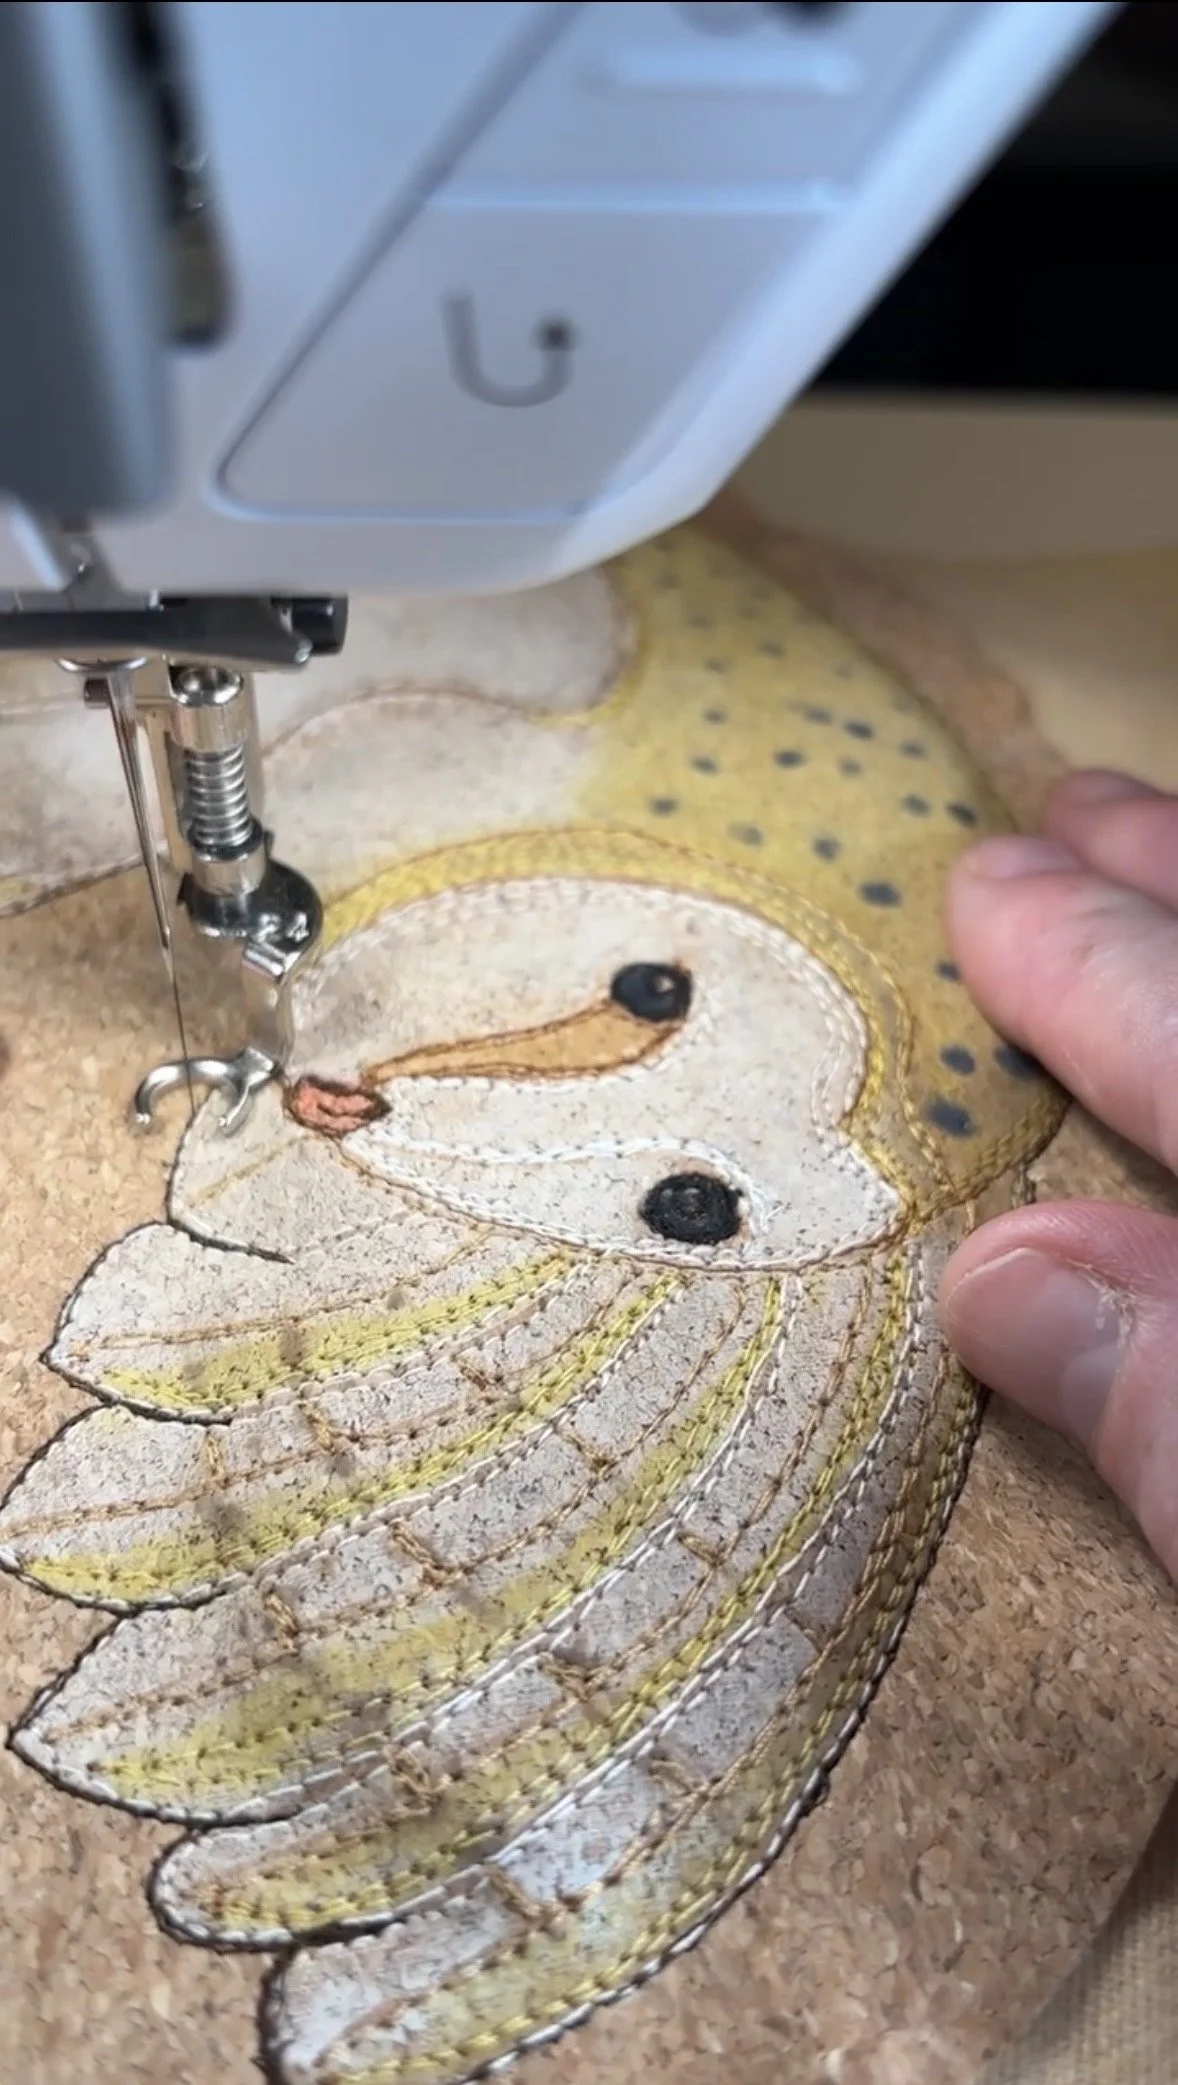
Next the bird flies onto the sewing machine for the slowest and most fiddly part of the process. Some birds have up to six colours and loads of detail like this Barn Owl. But it’s fantastic seeing each bird come alive with the thread. Individuality is stitched in with my machine taking different routes on every pass.
Stage Six:
Embroidery done
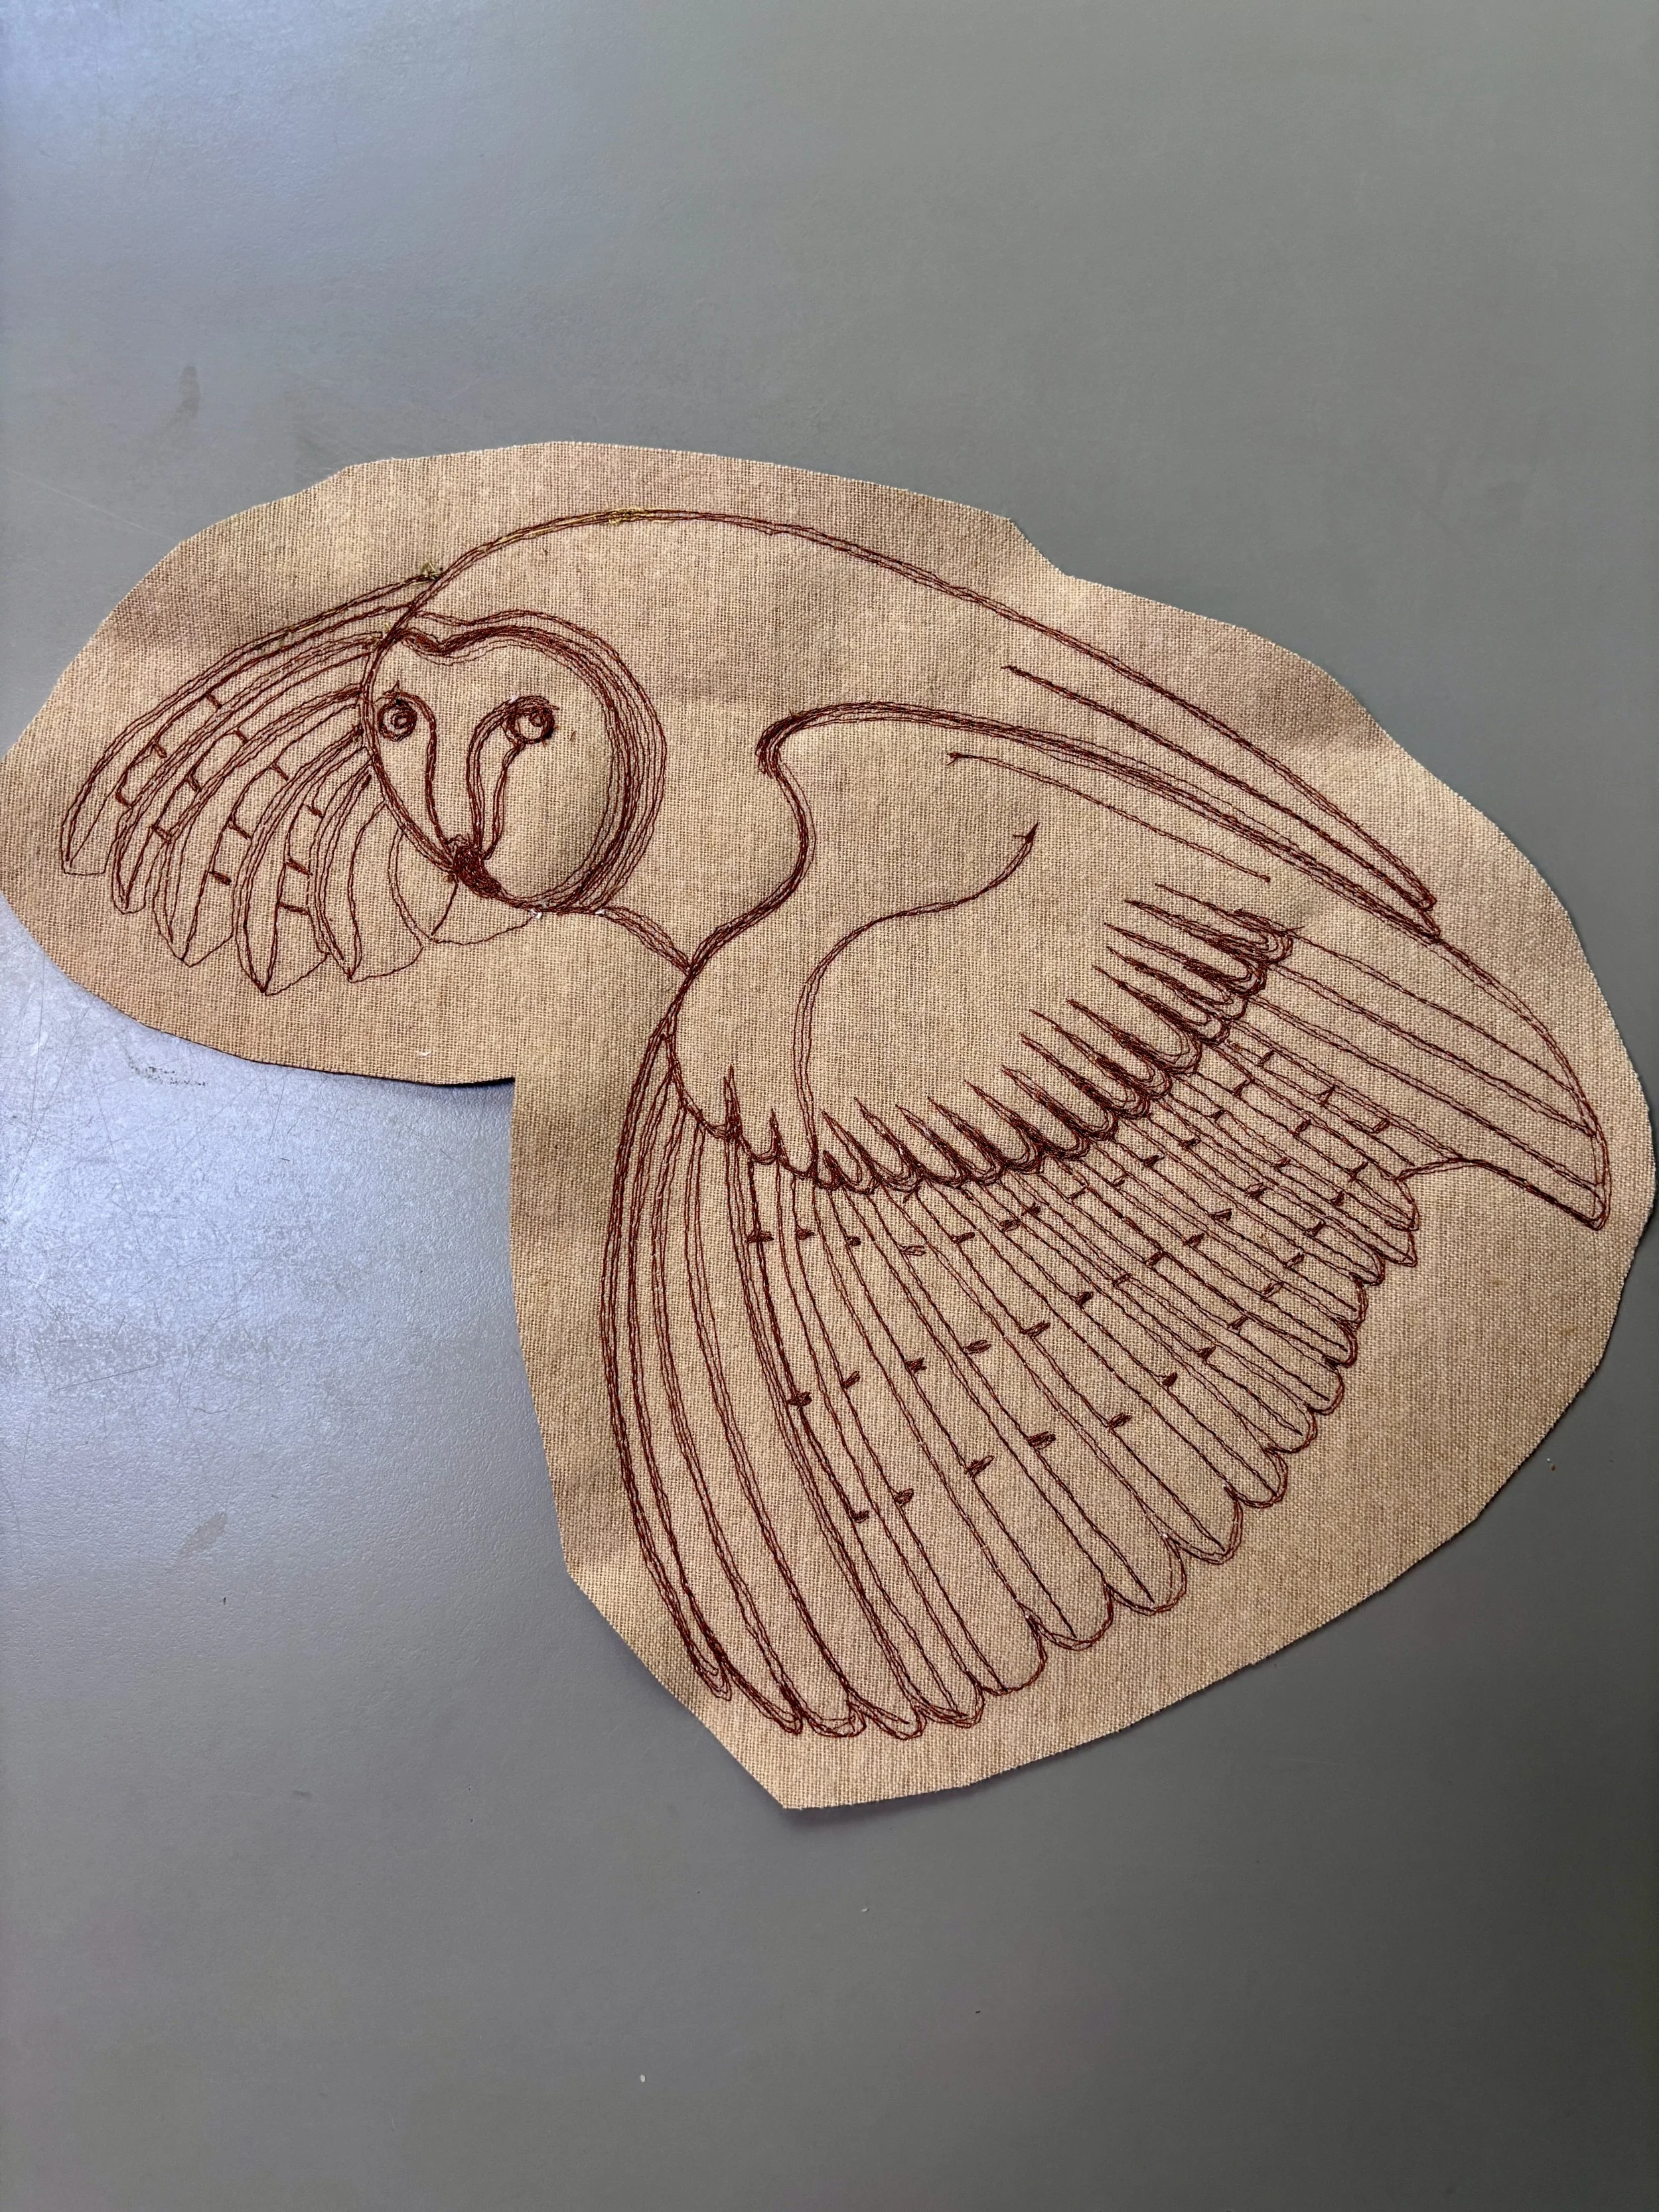
Once the embroidery is finished, you can flip over the bird and you should see what looks like a sketch in stitching. This was the Barn Owl after a good hour or so on the machine. I actually quite like this raw work. Perhaps I should sell some ‘shadow birds’ like this.
Stage Seven:
Padding, backing, cutting-out
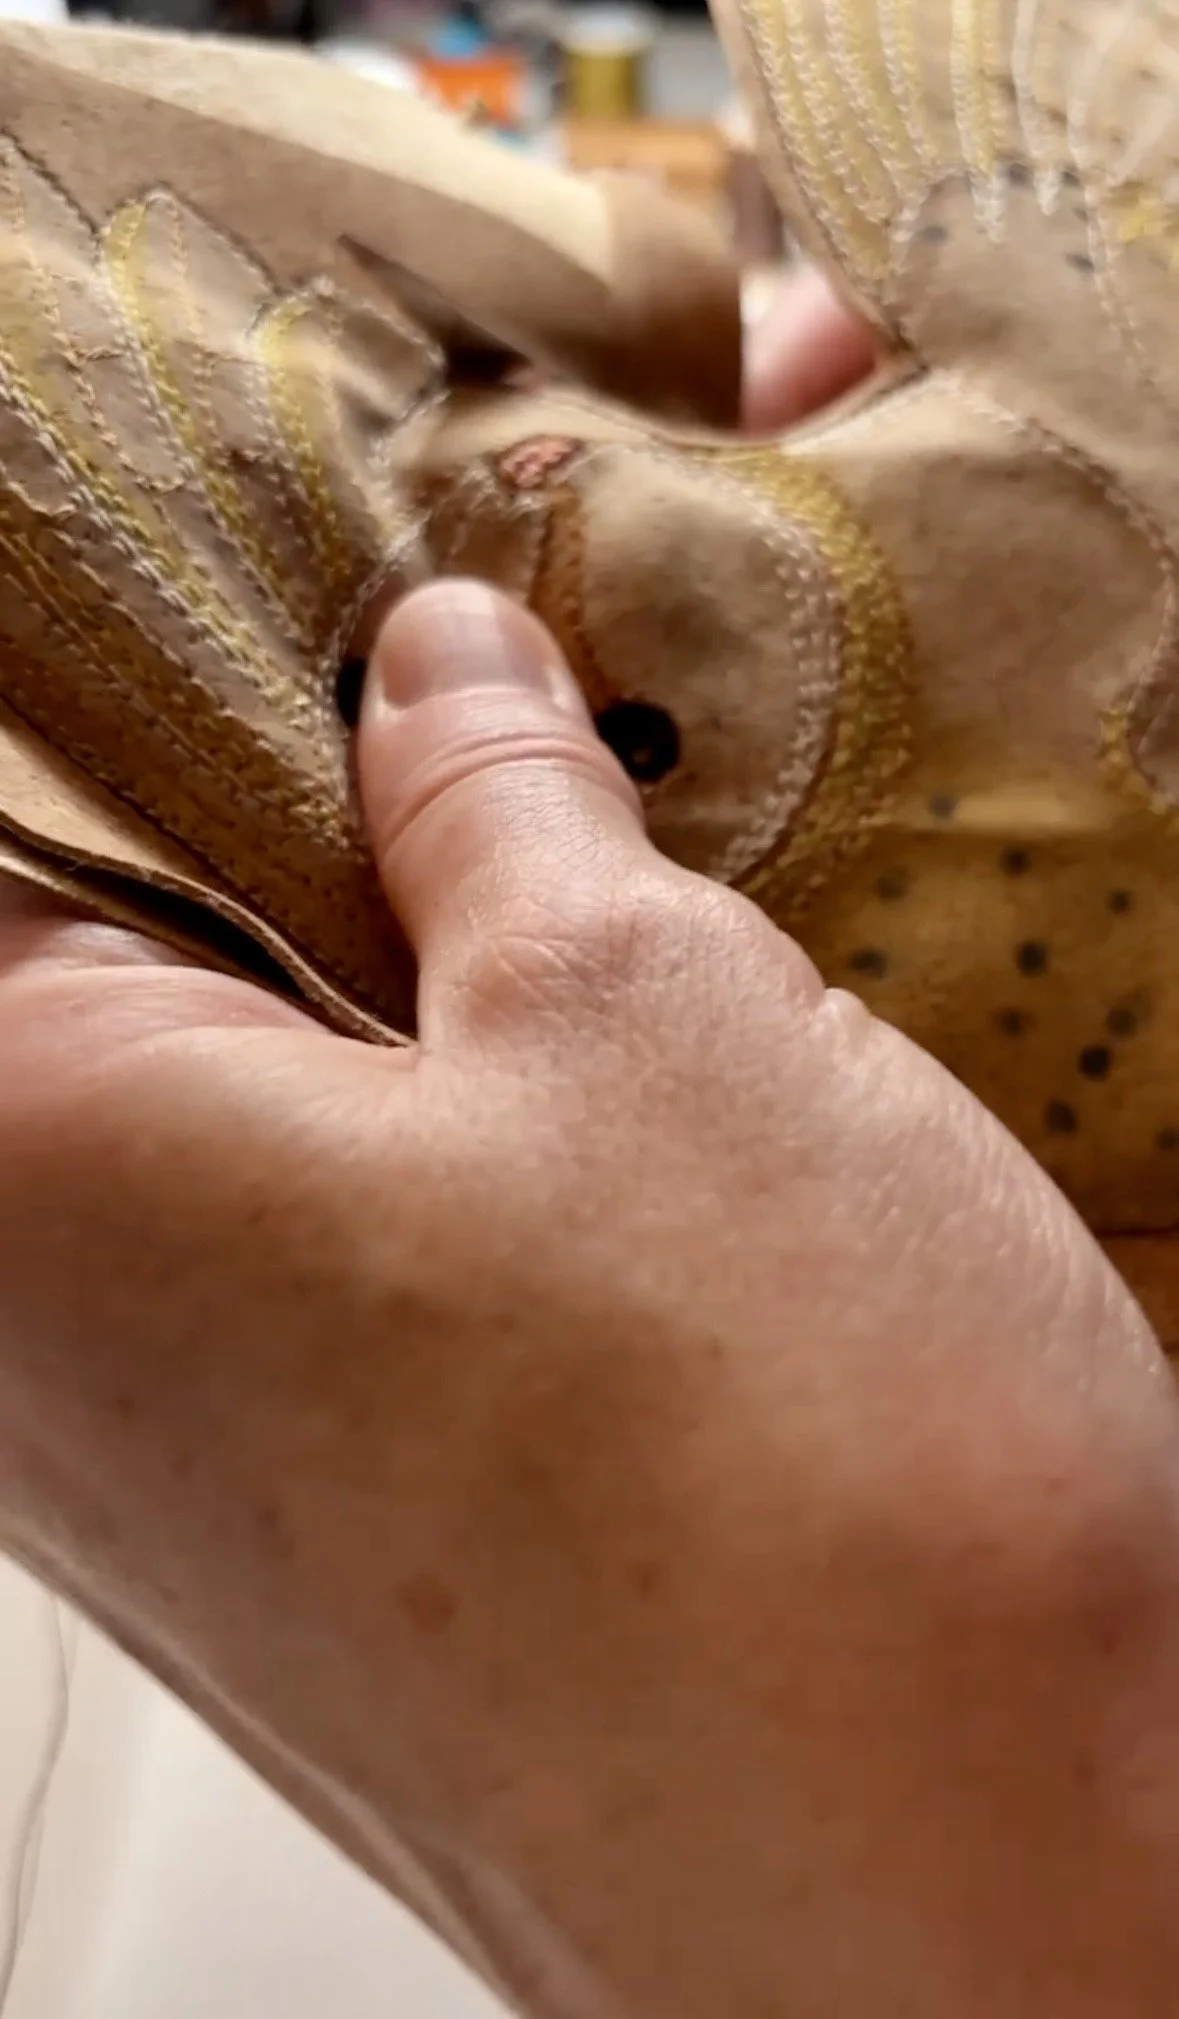
OK, so the sewing machine hasn’t finished its job just yet. Next the bird has wadding cut to size, and a backing piece of cork cut to match and then the three layers are sandwiched together, sewn around the outside and then cut out.
Stage Eight:
Mounting on the wall or outfit
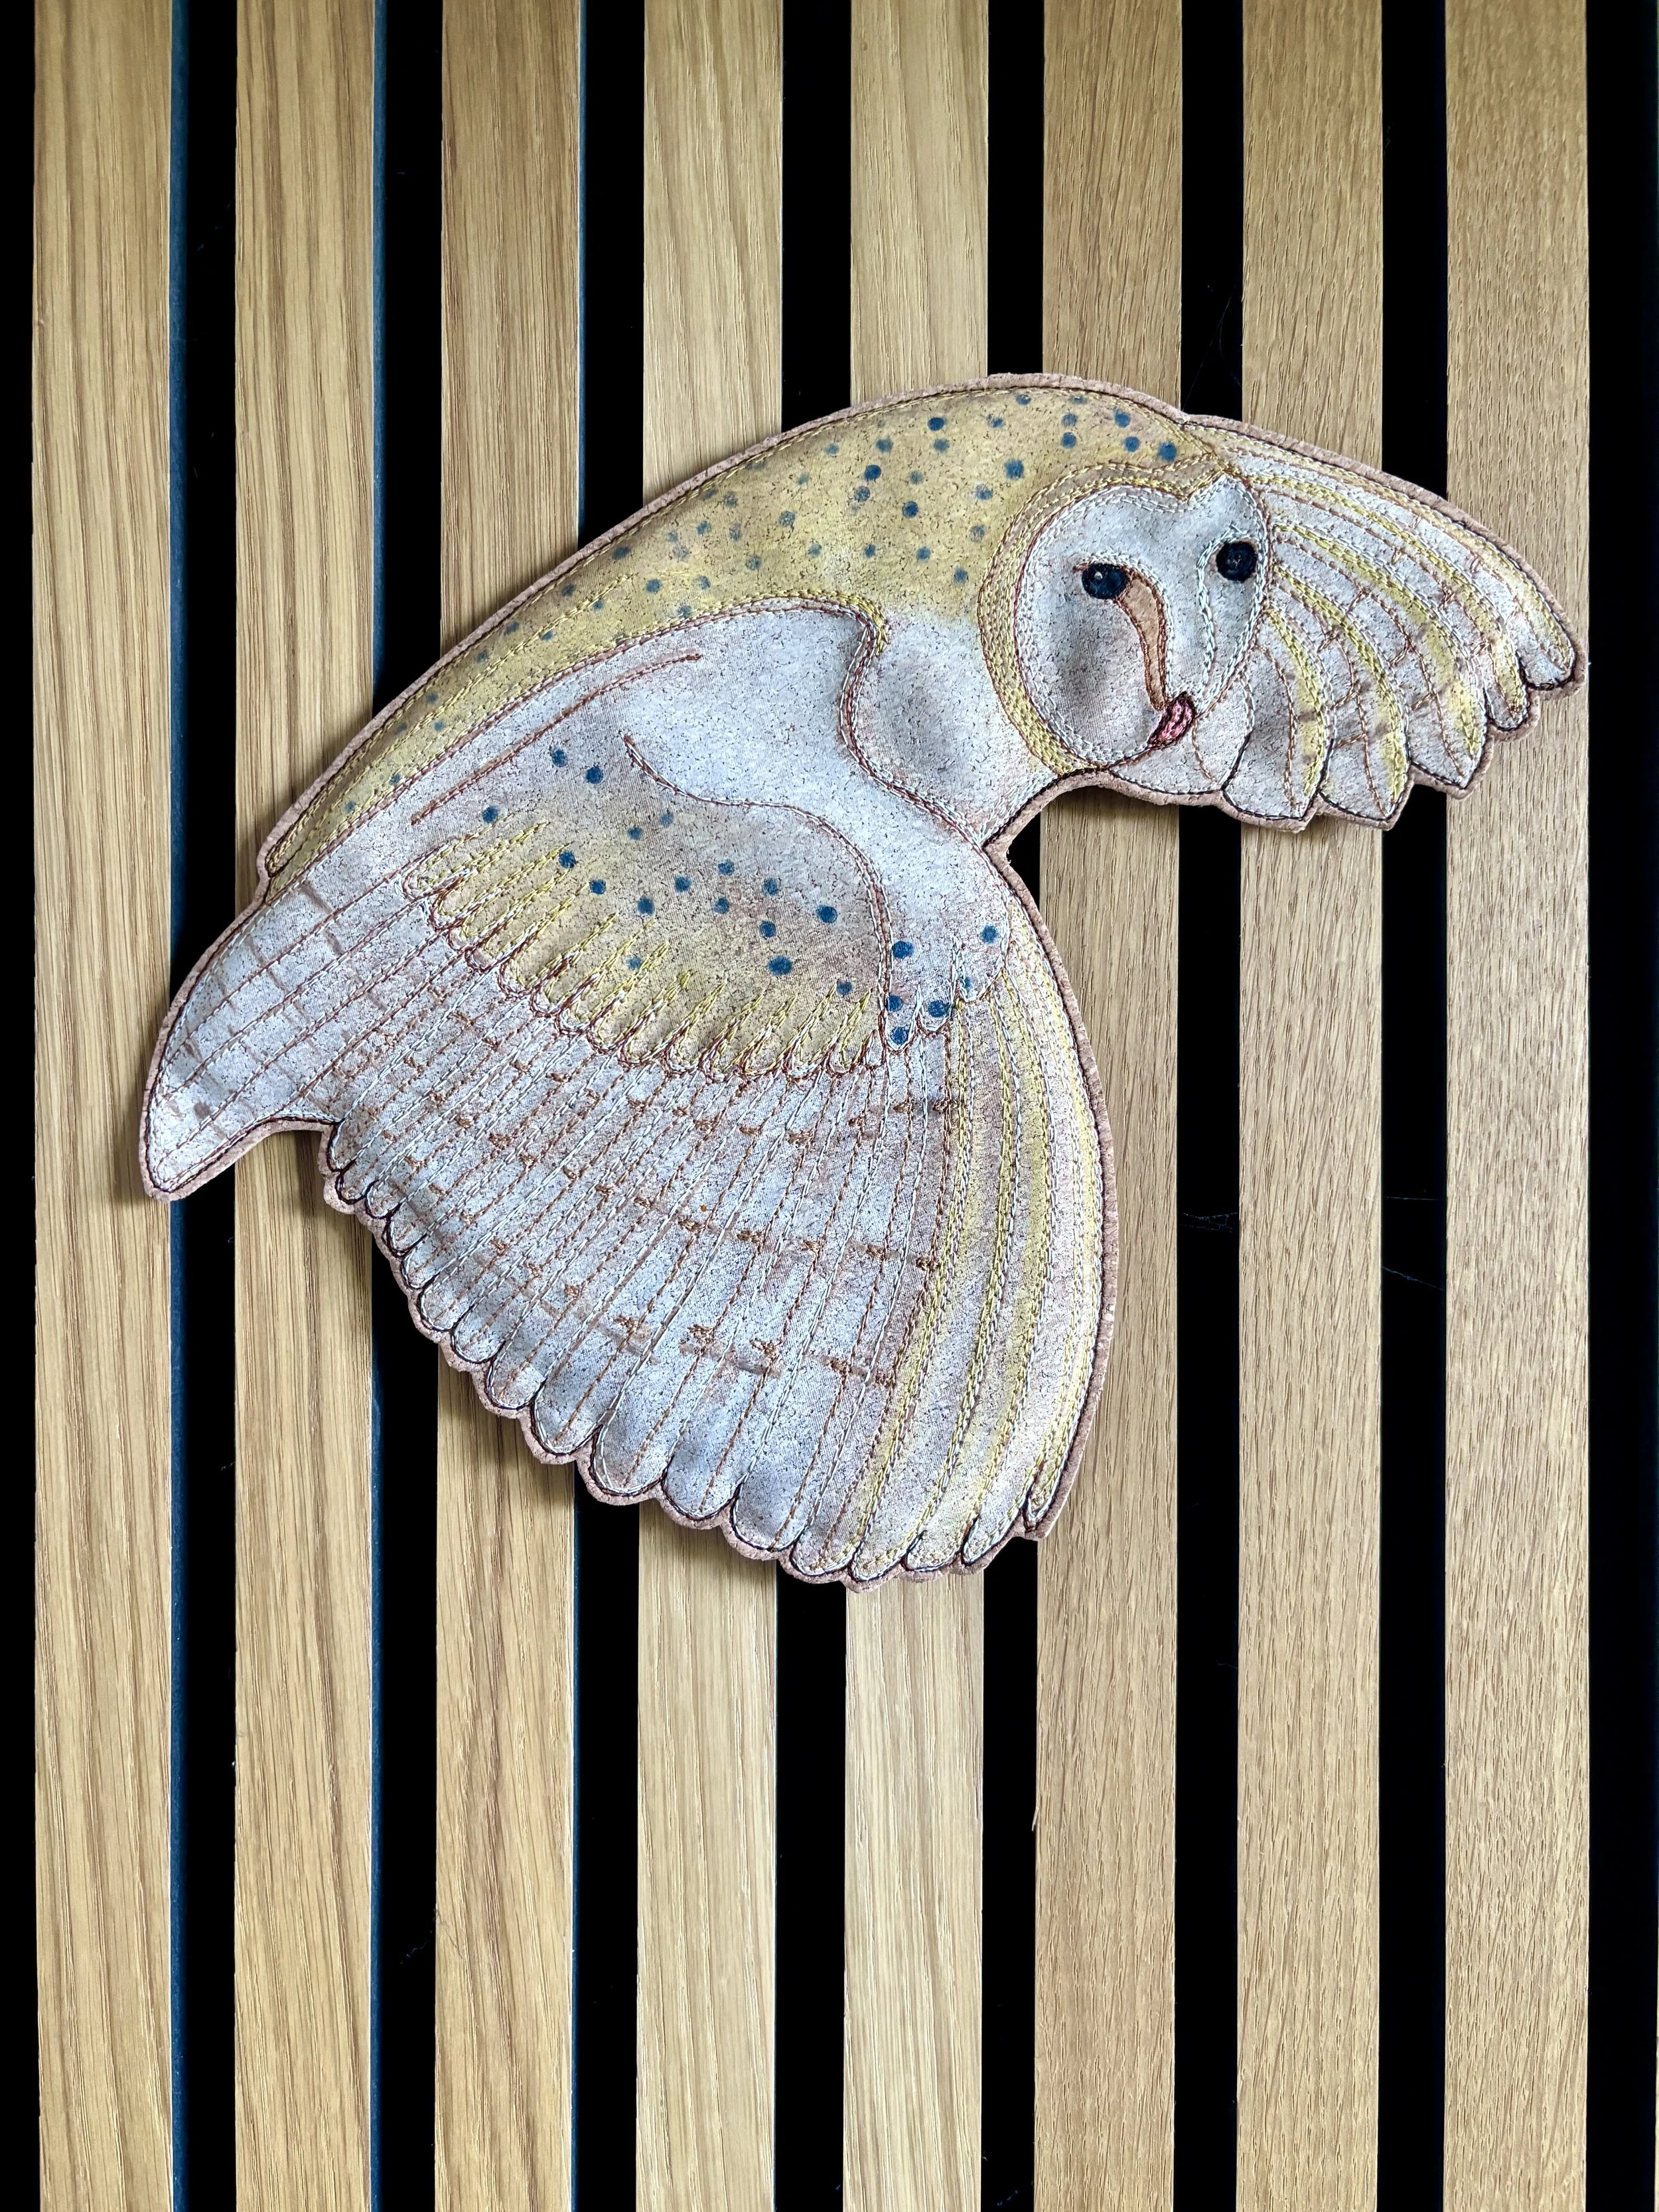
And hey presto, you have a finished bird! Several hours of work have passed but the finished product is hopefully worth it! The finishing touch is sewing on either a brooch pin or a hook, ready for mounting on your outfit or your wall. Now time for a cup of tea.